Most songs are produced to sound good on any device, to any listener. This is obvious, as balancing a song based on each person’s tastes would be impossible. But, it also means that some tracks can sound underwhelming to those who have specific tastes when it comes to how music should sound like. If you’ve invested in good quality audio equipment, it goes without saying that you want your audio quality to be as close to perfect as it can be. How can you do this if the music itself is what’s limiting you? Well, an equalizer might be just what you need. Take full control over your audio by meticulously boosting the parts you want to hear while cutting the ones you don’t. Not sure what these terms mean? Read on as we explain everything you need to know about equalizers and how to make the most of them.
What Is an Equalizer?
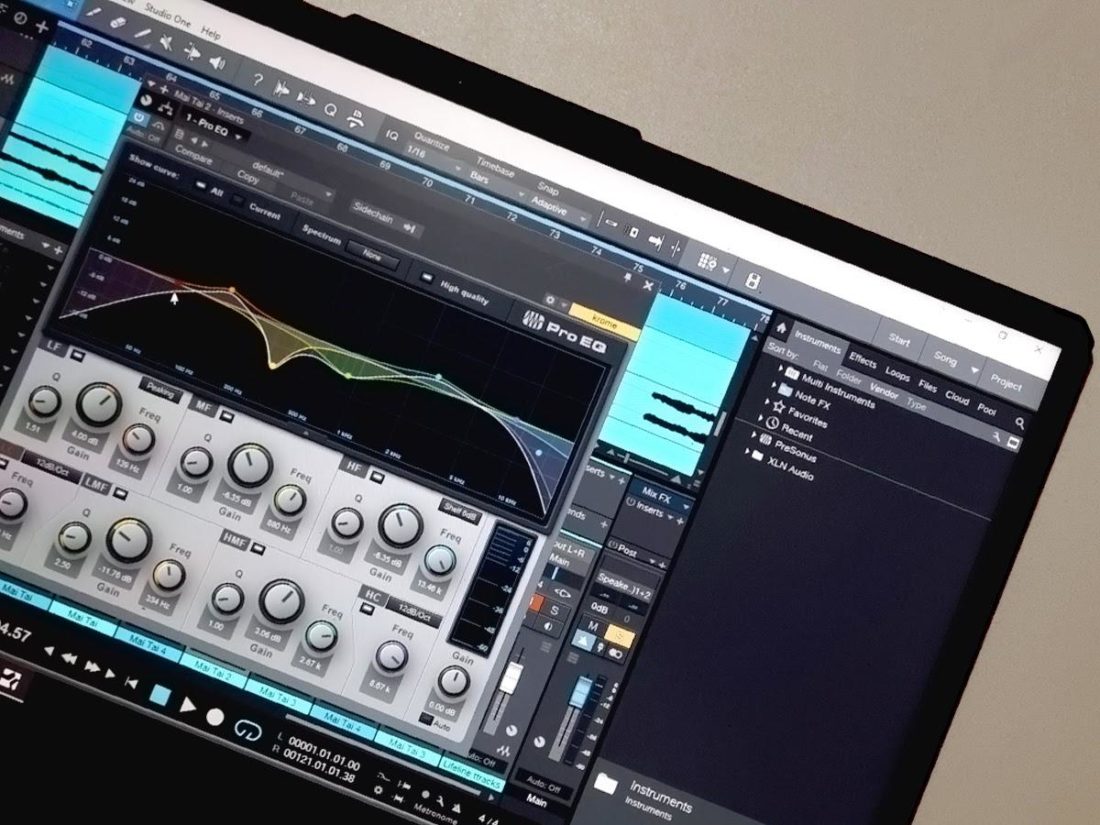
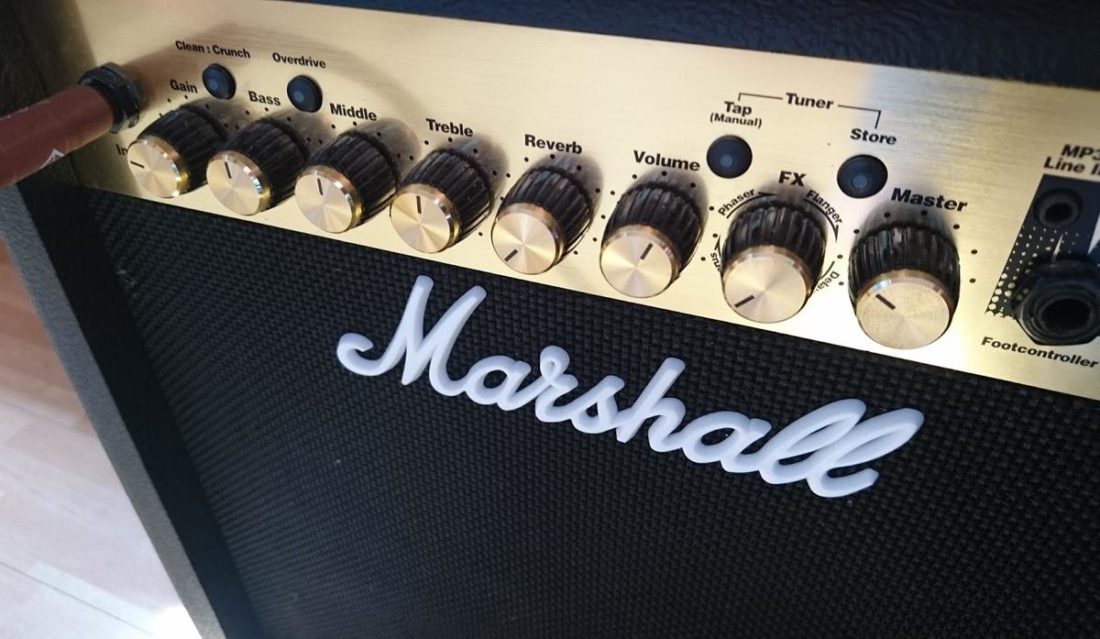
Your music has a wide range of different sounds, each belonging to a certain frequency. This frequency is then converted into sound when it reaches our ear. An equalizer, or EQ, is used to find your preferred balance between these frequencies in your music based on the environment, the listening method, and your personal preference. As mentioned, music that’s produced for a general audience is designed to sound decent in any environment, from any device. The problem here is that people don’t have the same tastes in music, and some may be disappointed by what others find superb. Early equalizers used to be primarily hardware-based, making use of physical dials to manipulate the audio you hear. You might remember seeing one in the form of two or three tone knobs on your car stereo or instrument amplifiers labeled ‘bass’, ‘middle’, and ‘treble’.
Why Is an Equalizer Important?
There are other ways to improve your audio, like boosting bass from within your Windows 10 computer. However, an EQ can make arguably better changes. This is because it gives you wide control over how your audio sounds like. The music you listen to may sound good, but it can always sound better when tuned with an equalizer. You can adjust the frequencies you hear to focus on different elements of the song using an equalizer. It truly gives you the option to personalize your music according to your taste. For instance, let’s say you want to hear the vocals over anything else in the song. You can boost the frequency at which vocals are heard. This will isolate that frequency more, making vocals louder. The same can be done for imperfections. By attenuating the frequency, you will hear that sound less. For example, listening to high frequencies for long periods can easily trigger ear fatigue. That’s why a lot of people use equalizers to tone them down a bit.
The Basics: Understanding Common EQ Terms
Equalizers, by default, can be quite intimidating. Oftentimes, you’ll see technical terms that you’re unfamiliar with. Let’s break down the audio terminology that’s commonly associated with equalizers, so you have a better grasp of what you’re changing.
Frequency
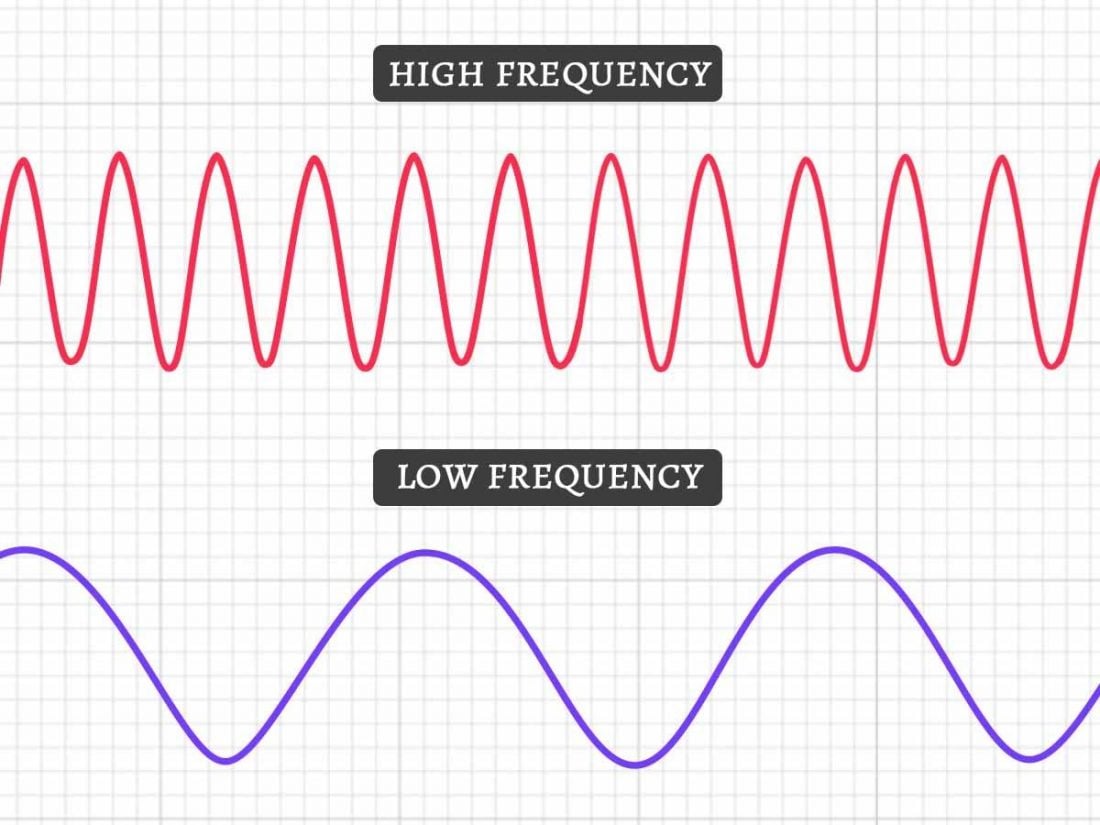
All sounds are the result of vibrations moving through the air. When those vibrations reach our ear, it turns into what we hear as sound. A frequency is determined by the number of complete cycles (vibrations) that occur in one second, creating a waveform more commonly called ‘soundwave’. Frequencies are measured in Hertz (Hz), referring to the number of soundwaves per second. These dictate the pitch (or how high or low the notes are). Faster cycles per second result in a higher frequency, which then results in a higher pitch. The same applies in reverse; lower frequencies equals lower pitch.
Decibels
When it comes to volume level, or loudness, this is measured in decibels (dB). When you look at an equalizer, you’ll see a slider that allows you to adjust the decibels for each frequency. Raising it will make all sounds in that frequency louder, while lowering it will do the opposite.
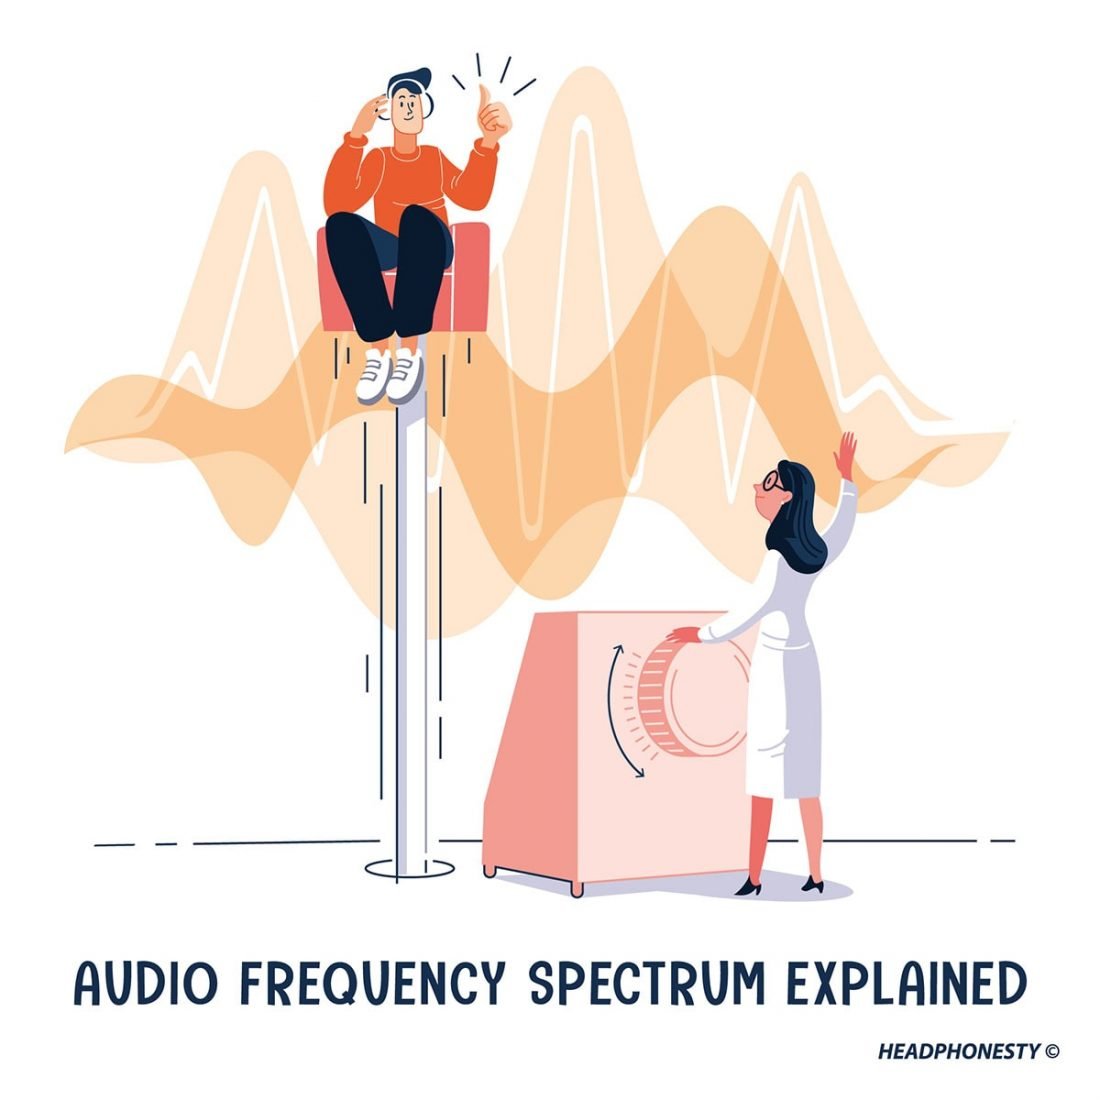
Frequency spectrum
The audio frequency spectrum is the range of frequencies the human ear can hear. For reference, healthy ears can hear frequencies from 20 Hz to 20,000 Hz (20 kHz). As mentioned earlier, lower frequencies produce lower-pitched notes while higher frequencies produce higher-pitched notes. But, these are divided even more through ‘bands’ or ranges. The equalizer allows you to adjust the decibels of each range, letting you boost or cut the frequencies to your liking. These bands are:
Sub-bass: 16 – 60 Hz Bass: 60 – 250 Hz Lower midrange: 250 – 500 Hz Midrange: 500 – 2 kHz Higher midrange: 2 – 4 kHz Presence: 4 – 6 kHz Brilliance: 6 – 20 kHz
Filters
Aside from boosting or cutting the frequencies one by one, you can also make use of ‘filters’. Filters are used to boost, pass or attenuate certain range of frequencies. This trims down the higher and lower frequencies in the whole frequency spectrum to only those you want to hear. There are various types of filters, including:
Low-pass: Low-pass filters pass through all frequencies below a specified point and attenuate any frequencies above it. High-pass: High-pass filters do the opposite of low-pass filters by letting through high frequencies above a specified point and attenuating any frequencies below said point. Bandpass: Bandpass filters pass a specified range of frequencies and attenuate any others outside this range.
Each serves a different purpose when applied. For instance, low-pass and high-pass filters are commonly used to eliminate or tone down extremely low or high-frequency sounds.
How to Use an Equalizer
Knowing what an equalizer does is useful, but that alone isn’t enough to start using one. Before you start making adjustments to your equalizer, read over the four sections below to learn how you can use it properly to achieve the results you want.
Understand what you’re changing
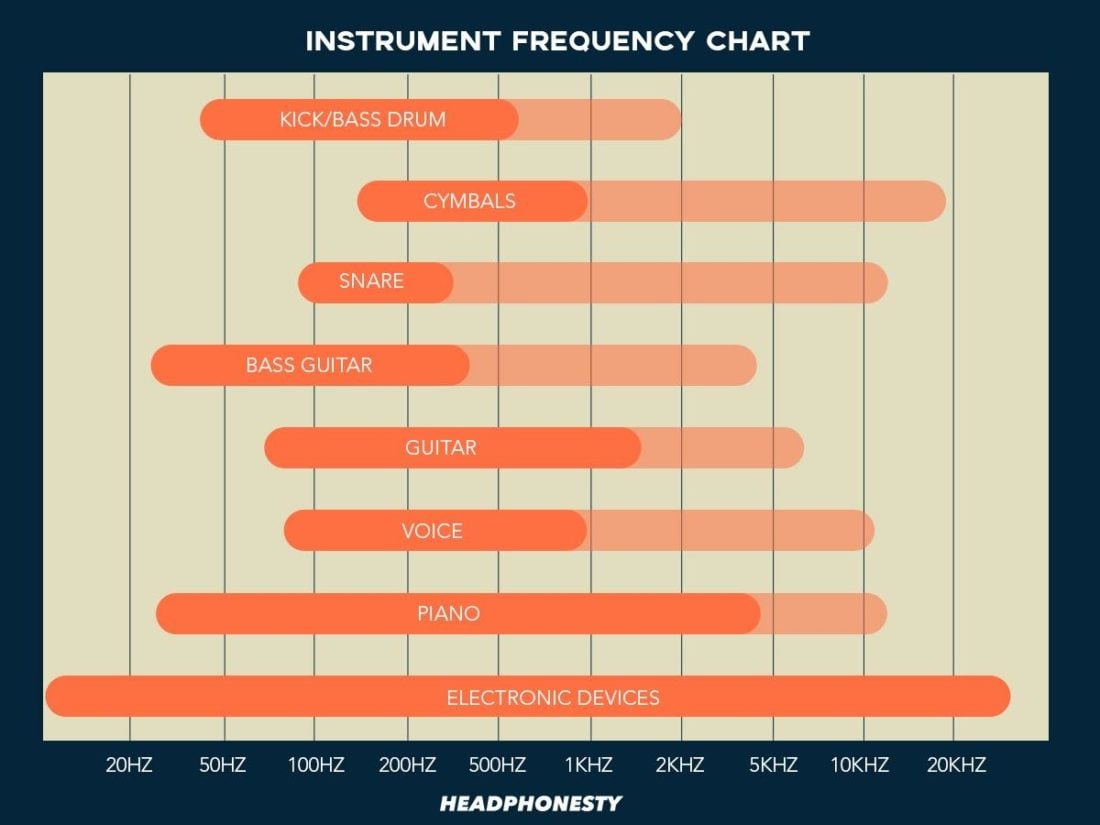
Instead of randomly adjusting sliders, think about what you want to achieve with the EQ. Are you lacking bass? Are there parts of the song that are too piercing? Having an understanding of what needs changing is a great place to start. You can make it easier for yourself by targeting the frequencies that each instrument plays at. For example, a bass sits between 16 to 256 Hz on the frequency spectrum. By increasing the lows, the bass will become a lot more impactful and powerful. The same is true for boosting any frequency. Cutting does the opposite by lowering the overall volume of sounds in that range. The below chart indicates the frequencies of some of the most common instruments.
Spot and cut the bad frequencies
Instead of overpowering bad frequencies, try cutting the parts you don’t like. By finding the frequency that pertains to the problematic sound, you can reduce it to make all other sounds more discernible.
Make use of filters
Filters can help you eliminate unwanted sounds from your audio. Let’s say you’ve recorded something that contains a low rumble from a passing vehicle. By applying a high-pass filter, anything below your specified cutoff frequency will be cut. The same is true when using a low-pass filter to eliminate high-pitched ringing noises. Anything above the cutoff frequency will be cut, effectively removing the unwanted sounds.
Boost only when needed
Boosting a frequency will make it louder. This is beneficial for making favorable sounds louder, but it can be detrimental if boosted too much. When a frequency is boosted too high, it begins to distort the sound. This will cause imperfections in the sound, potentially making it sound worse. Yet, of course, this will all still depend on your preferences. If you really feel like the bass needs some boosting, feel free to do so as long as it sounds right to your ears.
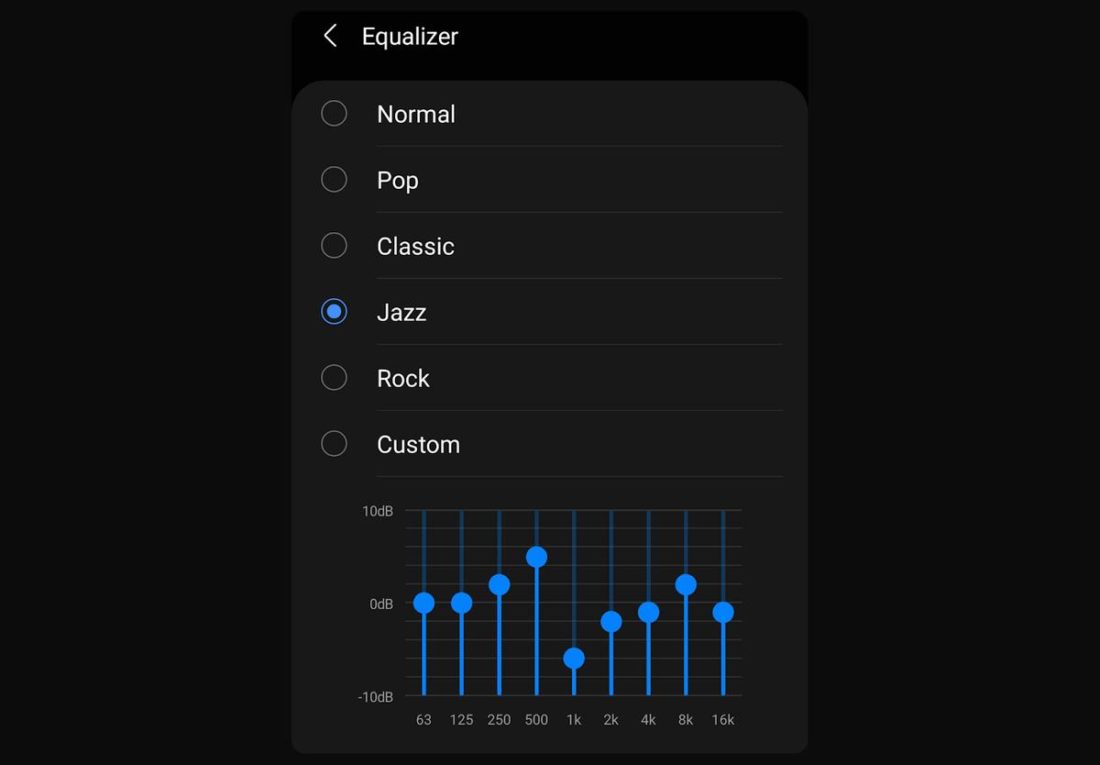
Use presets
Presets are very common among software equalizers. They’re pre-defined equalizer settings created for a specific type of music. There can be a preset for anything, and you’ll often find presets named “Rock”, “Pop”, or “Jazz”. Basically, the name of the preset correlates with what type of music the equalizer was designed to work with. Not everyone has time to find the perfect settings, so presets are a very useful way of adjusting the sound of your music while you’re on the go. However, as useful as presets are, they’re not always perfect. Since presets offer very general adjustments, this means they aren’t perfect for every situation. Carefully adjusted equalizer settings will always be superior.
What’s the Best EQ Setting for Your Favorite Activity?
As helpful as it would be to have the ultimate equalizer settings that work for movies, music, and gaming all-in-one, it’s just not possible. Even for each activity, there’s no ‘perfect’ template. Instead, it depends on the audio hardware used and personal preference. But there’s no denying that some activities require specific sound frequencies to be amplified. Use the guidelines and tips on which frequencies work best for which activity below.
Best EQ settings for gaming
Picking the right gaming headset is a challenge on its own, but so is finding the right EQ settings. When making EQ adjustments for gaming, consider the type of game you’re playing and what you want to improve. EQ adjustments for a fast-paced shooter are going to look drastically different from a role-playing adventure game. For first-person shooters, footsteps are a huge priority for situational awareness. Boosting the 2000 to 4000 Hz range will make footsteps more apparent. On the other hand, story-based games focus more on the atmosphere and environment and benefit more from a boost to low frequencies. This helps you feel the environment around you.
Best EQ settings for music
Every person has a different taste in music. The genre you’re listening to will have a big impact on the EQ settings you should use. In fact, presets were created to serve as an easy way to customize your listening experience based on the type of music you prefer. If you’re a big fan of bass or EDM and dance music, increase the lows until you feel the bass is at a level that you enjoy. You can further improve bass by gradually lowering the highs. This makes the bass more prominent. But remember that changes to the mids should be minimal, as this is where the clarity for your music comes from. On the other hand, Classical music can often reach ear-piercing pitch levels due to the way they’re recorded, so a low-pass filter is beneficial for this genre. Of course, clarity is an essential part of classical music. So, to make sure you’re not missing out on fine details, be sure to lower the bass and lower mids slightly while keeping the highs as they are.
Best EQ settings for podcasts and audiobooks
To bring out the most clarity from podcasts and audiobooks, you need to optimize your EQ for human speech. Frequencies differ between the voices of children, adult females, and adult males. Furthermore, each individual person will have a slight deviation in tone. This means creating a blanket EQ for all types of voices just isn’t possible. Instead, you can create an EQ that targets the average range of each voice:
Adult Male: 125 Hz Adult Female: 200 Hz Child: 250 to 400 Hz
Best EQ settings for movies
Some movies feature sound effects that completely drain out speech or music. Others have so much bass that your speakers start to rattle. Unclear or unbalanced sound could be the result of poor speakers, or even just the movie itself. If you want to feel more bass and clarity, slightly cut the highs and higher midrange. If you want to make it stand out more, slightly increase the lows until you’re satisfied with the results. Common practice is gradually boosting the lows and highs until the EQ forms a smile curve, but remember to try cutting before boosting as this could cause distortion. If the dialogue isn’t clear enough for you, consider cutting the lows and highs instead. If this isn’t enough, you can slowly boost the mids. Bear in mind that changes should be gradual. An immediate boost in the mids can do more harm than good for dialogue, making it unclear and hard to understand.
Conclusion
It’s rare to get the perfect listening experience right out of the box. Even after making changes to your EQ, there’s a good chance that you’ll be making more changes once you move to a different environment. EQ settings aren’t something that you change just one time. Instead, it’s something you tinker with based on what you’re listening to. It’s a tool that allows you to sculpt the sound to your liking so you can get the most out of your equipment. Using the information from this article, you can dive into your EQ and find the perfect balance without being intimidated by technical jargon. What do you prioritize when it comes to your EQ settings? Let us know in the comments!